Sign-up Process
Sign Up & Ad-hoc users
Sign Up Enter Contact Details
Payment Details
Ad-hoc users
Users can open the app, start a charging session and pay for the charging session without being required to register.
Home Charging
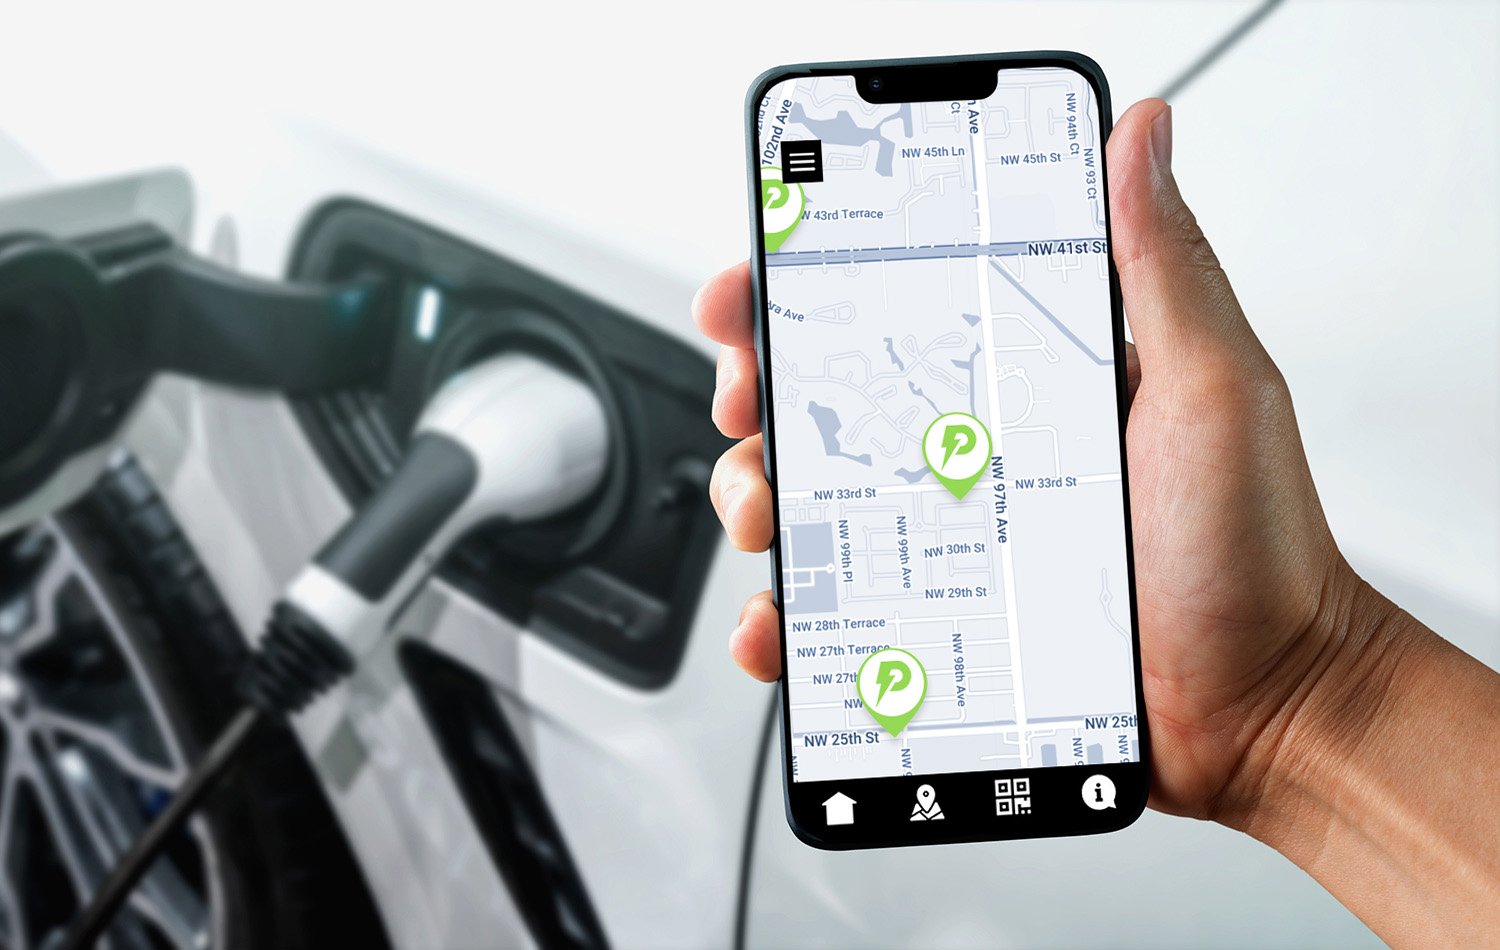
Available through the bottom left button depicted by a house.
Connecting a home charger
2-step authentication process using QR code and Pin code.
Configuring Your Home Charger
Configure charger page it lets the user configure smart charging, set charging schedule (charging at off-peak hours saves you money). Customize home charger page it lets the user set a name, location and change the photo of their home charger.
Authentication Set-Up
The user can set up their home charger to require authentication either through a pop-up notification or through an RFID card.
Smart Charging
This feature allows the users to set day and night tariffs and optimize their charging behavior as per the cheapest rate.
Keep-awake Mode
In order for some car models to be awake, so that delayed charging can occur, setting trickle charging amount is required. The installer can control the appropriate mode and amount if needed.
Start & Stop Charging
The charging session can be started through an RFID card, Boost Charge (charge now), or through Smart Charging Ending a Charging Session
Menu
Available on the top left, depicted by three horizontal parallel lines.
User Data
The user can edit his personal information, change their password, export all private information, or remove the account.
Pay via
The user can add as many debit or credit cards as they may require. In this section, the user may also find his corporate account.
Balance
The operator can provide a list of pre-paid packages that the user can buy from and respectively pre-pay for her charging needs.
The size of the top-up packages is controlled by the operator.
The user may also choose “Auto-Refill” when the system requires it in order to continue with a given charging session
Full transaction history is also available in this tab.
Charging History
Full charging history with detailed information available for both home and public charging.
Subscription
Provide subscription plans to the user.
Favorites
A list of all the user’s saved charging stations sorted by date of adding last to first.
Redeem Voucher
The operator may choose to run a marketing campaign with a promotional voucher. In this section, the user may redeem his voucher by typing in the voucher number.
RFID cards
The operator may allow the user to add his own RFID cards for ease of use. They will be required to authorize the card by tapping it at one of the CPOs charge points.
Public Charging
Available through a button on the bottom depicted by a map with a pin.
Finding a Charging Station
The default setting of the map is to zoom to the nearest couple of locations to the user. Chargers can be found either by navigating the map or searching in the search bar at the top.
Navigating to a station
By tapping on the location description, the user will be automatically redirected to his default navigation app with the route to the location already set.
Live Charging Data
After starting a session, the user will be able to track live data about Power, Energy; Duration and amount that they have to pay. They may also choose to end the session.
By default, the system will alert the user that less than 5 mins are left until the charging is finished, so he can move his car in a grace time period.
Filtering Chargers
Charging stations can be filtered by connector types, electrical current type, min. Power available.
QR code Scan
The user can scan a connector’s QR code at a given location and the app will automatically navigate to the “Start Session” page for the appropriate connector.
Session Summary
After the session has finished the user will be directed to the next screen with a session summary with all relevant data displayed along with a graph depicting the charger consumption throughout the session.
Selecting a Location
By selecting a location pin the user will be able to find all available chargers at a given location along with availability, a brief description, and a tariff summary.
Start a session
After selecting a connector, the user will be prompted to either start a session or reserve the station for a given time period. If the user wants to start a session, they must select a payment method through a drop-down menu.
FAQ section
The FAQ button on the bottom right of the main screen, depicted by a bubble with an “i” letter inside will direct the user to get acquainted with the most frequently asked questions.


